DD-WRT Step 6 – Enable USB auto-mount, format a flash drive with ext2, review options to format a flash drive, and rationale for Entware.
Which router does this post cover?
This post will cover exclusively the one I have, but same principles apply for any other: Netgear® AC1900 – Nighthawk® Smart WiFi Router aka R7000:
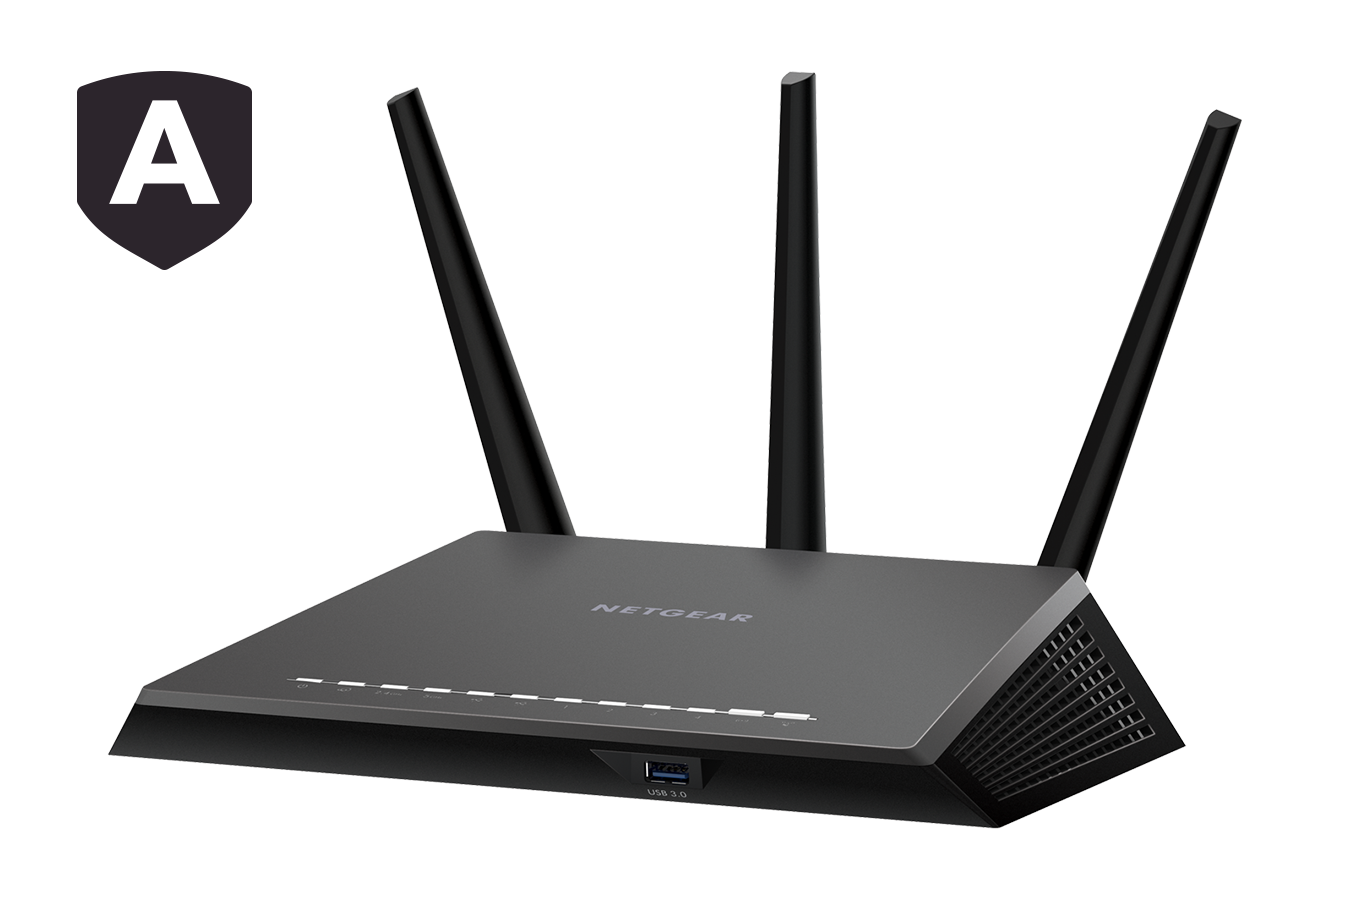
AC1900 Features:
- AC1900 WiFi—600+1300 Mbps speeds
- 1GHz Dual Core Processor
- Dynamic QoS prioritizes network traffic for uninterrupted video streaming for applications like YouTube®, Netflix® & others
- ReadyCLOUD® USB Access allows you to enjoy personal and secure cloud access to USB storage anytime, anywhere
Pre-requisites
Step 1 – Basic Configuration
Step 2 – Wireless Configuration
Step 3 – Upgrade Firmware
Step 4 – Miscellaneous Settings
Step 5 – SSH Access DDwrt
Why Do You Need A Linux Format Flash Drive?
You need it to install Entware at Step 7. Entware is a software repository for embedded devices like routers or network attached storages (NAS). 2000+ packages are available at moment of writing this article.
This repository will be used to install third party tools on your router via a packager called opkg. To do so, you are advised not to use the router’s internal flash drive but instead, use an external flash drive.
The list of Entware-compatible Linux kernels is available here:
| Architecture | Setup script | Setup script |
|---|---|---|
| aarch64 (kernel >= 3.10) | standard | alternative |
| armv5 (kernel >= 3.2) | standard | alternative |
| armv7 (kernel >= 3.2) | standard | alternative |
| armv7 (kernel >= 2.6.36) | standard | alternative |
| mips (kernel >= 3.4) | standard | alternative |
| mipsel (kernel >= 3.4) | standard | alternative |
| x64 (kernel >= 3.2) | standard | alternative |
The compatible installer for Netgear AC1900 R7000 is armv7 (kernel >=3.2):

Step 1. Enable core USB on DDwrt
Log in to the router’s GUI, go to the USB page (Services – USB), Make sure Core USB Support, USB Storage and Automatic Drive Mount are all enabled. If one or more are not, enable them and click apply.


I personally have no use for SES (deprecated Broadcom technology) and therefore, I can use this button to unmount the connected flash drive.
Step 2. Format A Flash Drive
Step 2.a. Get a flash drive
You could also enable jffs2 mounted as /jffs but I strongly advise against that. Jffs2 will use the free space in the internal flash drive and as such, will deteriorate over time. Once your internal flash space is corrupt, your router is bricked.
Find a 1GB or more flash drive you intend not to use anymore. It will become the permanent attached /opt storage of DDwrt. Plug the flash drive on the back of the router, or wherever the USB plug is. On Netgear AC1900 R7000 the front USB plug is USB3.0 and the back is USB2.0.
Flash drive requirements:
- 1 GB minimum
- UUID enabled (good quality flash drive)
- expendable: it will eventually die once you reach its maximum write cycle lifespan
- Volume label should be Optware so it auto-mounts
/optwithout specifying the UUID
After you plug in the drive, go to Services > USB and check that it’s mounted correctly:

This example shows a 2GB flash drive, formatted with FAT. We will need to format it using ext2 (recommended).
How To Format the Flash Drive
You can format the drive from:
- your Windows desktop (advised)
- your Linux desktop (I doubt any serious Linux user will ever land on this page)
- from DDwrt UI directly (advised)
- from DDwrt Command Line (for geeks)
Choose the Option that you like among this non-exhaustive short list:
From Windows: Format as ext2
There are plenty of free tools available on Windows or Pendrives to format drives with UUX/Linux partitions. Gparted and MiniTool Partition Wizard Free come to mind.
This is clearly the way to go, but it’s a long way. Gparted would also provide the same functions but you need to boot on the Pendrive to use it, unless your daily OS is Linux. Below is the procedure for MiniTool on Windows:


Unfortunately, this tool will physically format the disk entirely when you choose a Linux partition format as primary partition. The result is also somewhat deceiving since DDwrt command line reports the mounted partition as ext4, whereas the DDwrt UI reports it as a logical ext2 as expected:

Positive outcome though, the mounting options used for this ext2 partition includes noatime and nodiratime which will happily preserve your flash drive by limiting the amount of writes (do not update file nor folder access time):

From DDwrt OS standpoint, ext4 is probably used in compatibility mode to mount ext2/ext3 partitions, reporting incorrect data? The partition is clearly ext2 as reported by fsck:

From DDwrt UI: Format as Anything
There is an easy way to format a flash drive with point & click directly from DD-wrt UI, if you go to Services > NAS:


After the Formatting is done, the UI will refresh. You will need to unplug and replug the flash drive in to mount the newly formatted partition.
File formats available from DD-wrt UI:

There is much more choice here! Even ZFS and BTRFS oO
From DDwrt Command Line: Format as ext2
Again, using ext3 or ext4 which are “journalized” Filesystem is HIGHLY advised against. To format the drive /dev/sda1 with ext2 from the command line, type these commands:
umount /dev/sda1
mkfs.ext2 -L Optware -t ext2 /dev/sda1

You can see below that the FAT flash drive I just formatted by specifying ext2 is incorrectly reported as ext4:

To reload the newly created FS to /opt, simply unplug and re-plug the flash drive. Then, the disk /dev/sda1 should mount as /opt directly. If you really want to double check, this command will show that the FS is indeed ext2:
fsck -N /dev/sda1
Step 3. Setup Auto-mount to /opt
If the label of your flash drive partition is Optware you are done. Move on to Step 4. Just make sure that the drive is correctly mounted to /opt under Services > USB:

Still under Services > USB, if the label is not Optware, you should copy and paste the mounted partition’s UUID into the field to auto-mount this partition to /opt:


You should never need to specify the UUID to auto-mount to /opt if you can setup the flash drive Filesystem label to be Optware. Only use this option (that requires a reboot) when you cannot or refuse to change the drive’s label.
As a side note, Filesystem UUIDs are also available from the command line with blkid command:

blkid is limited and will not report the Filesystem type.ADDENDUM
File systems available within DDwrt
mkfs.exfat mkfs.ext2 mkfs.ext3 mkfs.ext4 mkfs.jffs2 mkfs.ntfs mkfs.vfat
Via SSH, recheck the device to format. The example below clearly shows /dev/sda1 and therefore the partition device is /dev/sda

Wrapping up
Now you have the tools to setup the flash drive you need to install Entware. The next step is DDwrt Step 7: Install Entware