DD-WRT Step 2 – Wireless Configuration: setup WiFi Key and security, explore your area and choose the best channel for maximum throughput.
Which router does this guide cover?
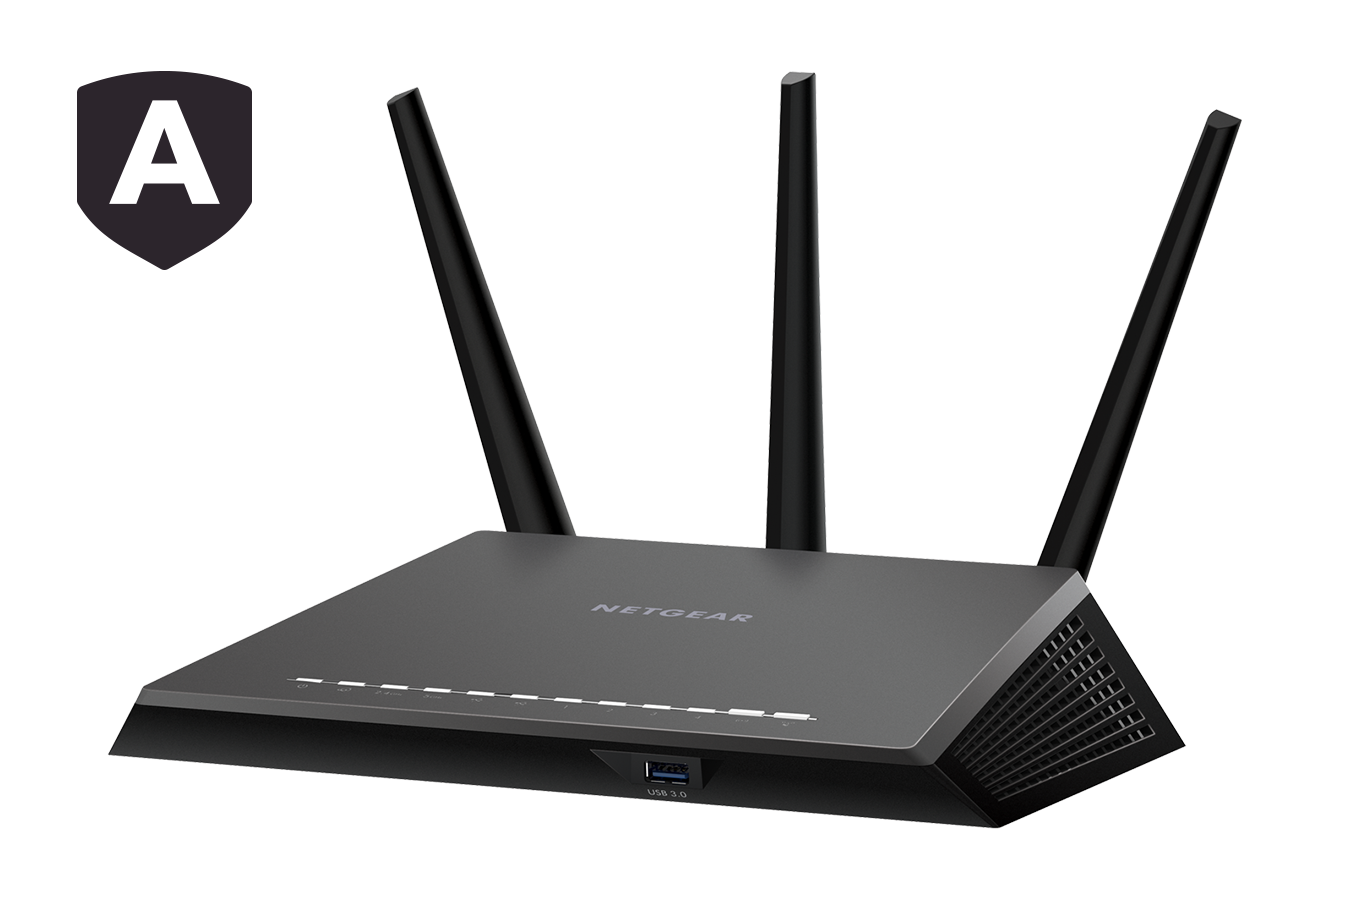
This page will cover exclusively the router I have, but same principles apply for any other: Netgear® AC1900 – Nighthawk® Smart WiFi Router aka R7000:
AC1900 Features:
- AC1900 WiFi—600+1300 Mbps speeds
- 1GHz Dual Core Processor
- Dynamic QoS prioritizes network traffic for uninterrupted video streaming for applications like YouTube®, Netflix® & others
- ReadyCLOUD® USB Access allows you to enjoy personal and secure cloud access to USB storage anytime, anywhere
Pre-requisites
Step 1 – Basic Configuration
Wireless – Basic Settings
Regulatory Domain and Mode

Choose the coutry you are in and leave the rest default. There is little sense to switch mode, since most devices you want to connect to your WiFi will use your country’s regulatory mode. They may become incompatible or lose WiFi connection if you chose different settings than those they are rated for.
WiFi Regulatory modes differ per country and will allow you to select WiFi channels unavailable in your country, because their frequency and therefore the maximum EIRP “legally” allowed by the local telecom authorities are regulated. EIRP is TX power plus antenna gain and affects the shape of the signal around the antennas:

Illustration of definition of equivalent isotropically radiated power (EIRP)
Maximum EIRP varies by nation and your max TX power will be capped by the regulatory domain if you have a powerful radio. Again, little point to do so if your connected devices are incompatible.
TCP Mitigation Factor is a bit more complex to explain, default value is ok.
Wireless Physical Interface wl0 [2.4 GHz TurboQAM]
Options and modes available will depend on your router :


Recommended Setting: Mixed or NG-Mixed (2.4 GHz). More details here.
What is TurboQAM? This technology makes it possible for the 2.4GHz band with 40 MHz channels to achieve a maximum transfer rate of 200 Mbps per data stream. Multiply that by three (the number of data streams) and we get 600Mbps.
Virtual Interfaces

For each antenna, you can create many virtual interfaces, that can use different separated subnets.
Wireless Physical Interface wl1 [5 GHz/802.11ac]

Recommended Setting: Mixed or AC/N-Mixed (5 GHz), AD-Only (60 GHz)
Which channel to choose? Maximum bandwidth vs Best propagation? That could be an entire subject in a different page, because you need to take into account your neighbors!
Extension Channel
This setting is only valid when Wide HT40 (40 MHz), VHT80 (80 MHz), VHT160 (80+80 MHz) or VHT160 (160 MHz) is used for channel width. It controls the extension channel(s), which is the other channel(s) used to attain the 40 MHz width or in the case of 802.11ac, 80/160 MHz width the other 3 channels, are above &/or below the primary selected channel.
Which channel to choose?
Leave it to Auto, DD-WRT will choose the lower-least occipied channel for you. If you want to play with it, under DD-WRT Wireless Status, you can start by looking at what’s around you with Wi-Viz. That will be of little help besides looking awesome:

The tool you need is called InSSIDer:

InSSIDer will nicely arrange local WiFi networks along a Frequency bands axis, so you can choose the best settinsg to avoid interference. The higher the channel, the fastest the throughput. That is why most WiFi AP manufacturers setup their devices to use the highest channel possible by default, instead of choosing the least occupied channels.
In the example below, dlink-7291 moved from the hyper-crowded channel 153-upper-upper to the interference-free channel 136-lower-upper:

Wireless – Wireless Security
Below are the most compatible and secure settings available for Home WiFi as of 2020, for an old router such as Netgear AC1900:

Security Mode

Security from weakest ➡ strongest goes in the following order:
⛔ Unsecured ➡ WEP ➡ WPA+TKIP ➡ WPA+AES ➡ WPA2+AES ????
Wrapping up
From now on, you have a basic configuration to access Internet and connect securely to you router. There are many more parts to cover and discover in Step 4; thus, let’s move on to Firmware Upgrade first!