This is a complete HOW-TO guide for installing gnuCOBOL 2.2 on cygwin for Windows systems. Most of the instructions below are for POSIX compatible systems: Unix, GNU/Linux or Cygwin for example.
Sources used to create this guide:
- Getting Started with OpenCOBOL for <Windows> Dummies
- GnuCOBOL (formerly OpenCOBOL) – A free COBOL compiler at SourceForge
This guide has been tested in 2018 and rely on gnuCOBOL 2.2. Newer versions, if any, should need the same steps.
Setting Up The cygwin Installer
Run cygwin-setup-x86.exe (or cygwin-setup-x86_64.exe if you want the 64bit version. Install steps are the same):
Important Notice
Every time you will need to add new packages to your cygwin install, you need to run the installer again.
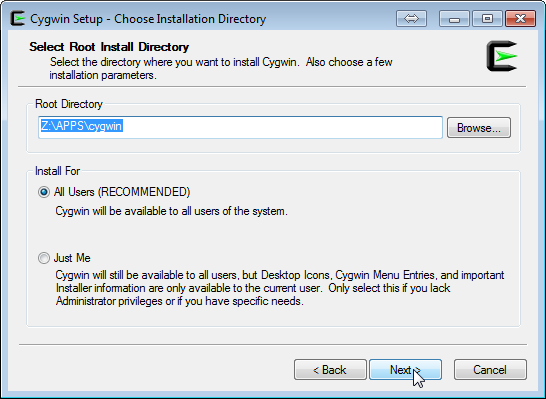
Set up the install directory: choose a short PATH, close to the root of a drive, usually C:\ or whatever drive you want to use. This is where the cygwin binaries will go.
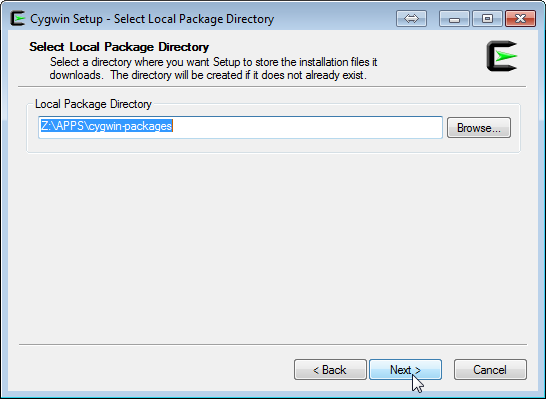
Set up the local package directory: choose a short PATH, next to the cygwin install is the recommended way to do. This directory is just a cache that the installer will use to download all the package source addresses from the mirror download site you will set-up in the next screen. You will re-use it when restarting the installer at a later time, if you want to install more packages.
Its size should not grow bigger than 130MB.
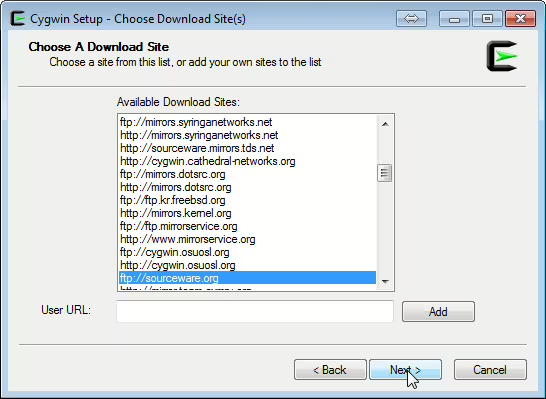
Rule to choose a mirror server:
- choose the first one, or
- a server that is up-to-date
- and close to your place (example: MD, USA).
It’s unclear from looking at the list above, isn’t it?. Hopefully the cygwin mirror page list can help you choose:
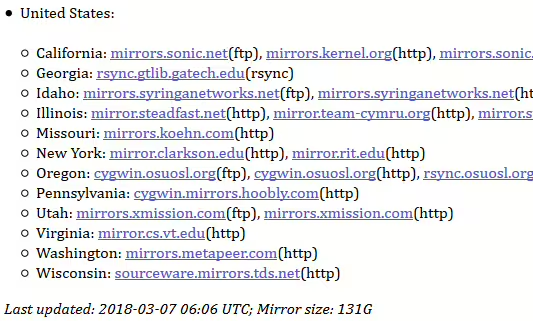
As you can see, http://mirrors.metapeer.com or http://mirror.cs.vt.edu seem to be close to Maryland, so you should use them if you live here. Not easy to find in the list, is it? You can also copy and paste the address in the URL box instead of scrolling down looking in a long list of unsorted elements:

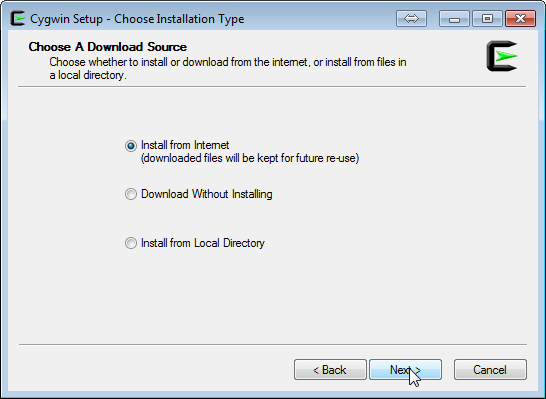
Once the installer has cached the repository, you can choose what to install in your cygwin install folder.
Choosing the Packages
For compiling gnuCOBOL you need:
- basic Linux system packages
- different libraries + their development counterpart
- compilers and configurators
Switch to the Category view:
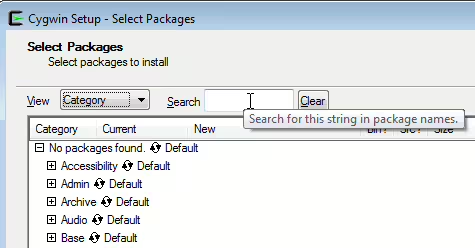
Now, it’s not so obvious how to find and select the packages to install, so here is how it works:
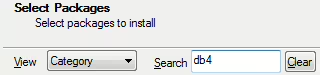
Example 1 for Database packages:
Here is what to install:
- db4.5 – db4.5 Utilities
- libdb4.5 – C and C++ libraries
- libdb4.5-devel – db4.5 development
- you can also add Berkeley DB (libdb) if you like
- db4.5 is NOT the package name, it’s the package name + the version. You need to type “db4“:
- Expand the categories:
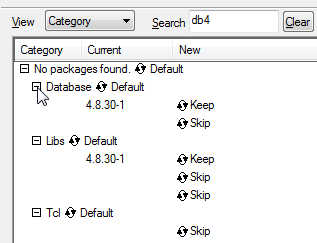
- Whatever says “Keep” means it’s already installed. “Skip” won’t be installed. To select a package for install, click on the
 icon. If you click more, it will cycle the versions available, until it says “Skip” again (won’t install). “Skip” means the box is unchecked. Not so obvious eh?


- As you can see, db4 is available in version 4.8 only, not 4.5. When selected for install, the checkbox on the right will be checked. You cannot click on these check boxes. Not so obvious. Also, most package versions will differ from what the websites recommend to install. That’s fine, they’ve not been updated for a while (the pages).
- So, in the end, for db4, here is what to check for install:

As you can see, no devel package is available for db4, despite what the website may tell. That’s fine, install what’s available.
Example 2 for gcc compiler:
Here is what to install:
- gcc – C compiler upgrade helper
- gcc-core – C compiler
- gcc-g++ – C++ compiler
- gcc4 – Release Series 4 compiler
- gdb – the GNU debugger
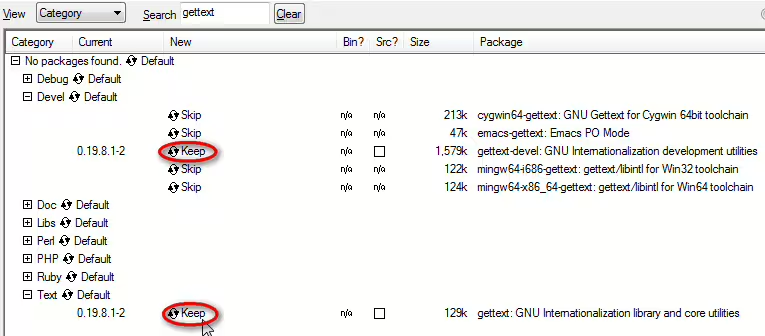
- gettext – GNU internationalization library and core utilities
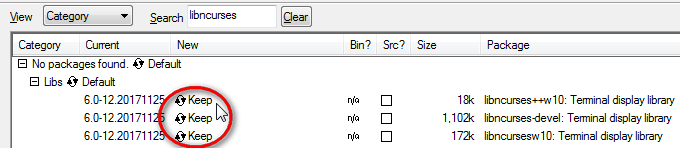
- libncurses-devel – libraries for terminal handling
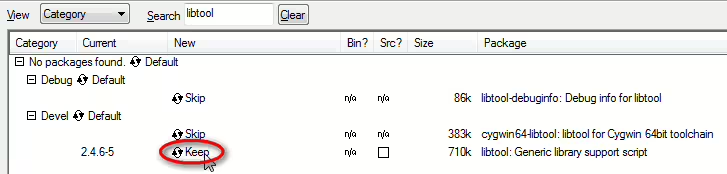
- libtool – a shared library generation tool
- make – the GNU version of the make utility
And here is what you need to check:
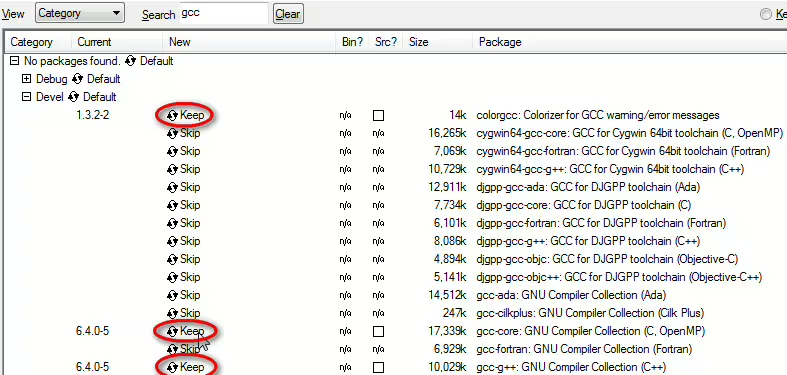

Note: I also selected colorgcc, it’s optional indeed.
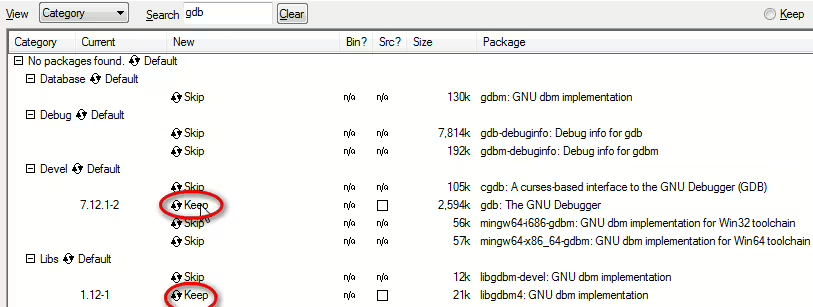
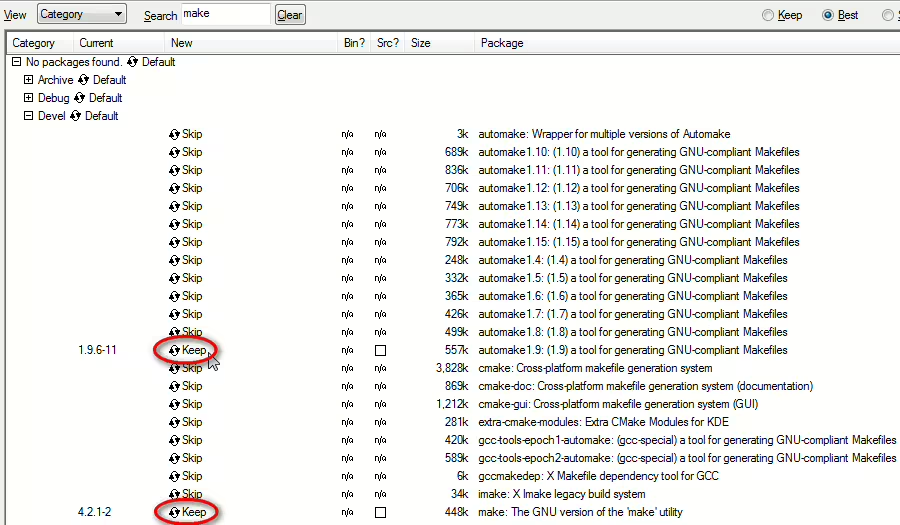
And voila, that’s it for the first set of development tools. In the screen above, I checked automake 1.9 because it’s recommended for openCOBOL, and gnuCOBOL says nothing about it. Indeed automake 1.15 is available, but let’s play safe and not choose the latest version, because you never know what dependency a newer version will break, especially for builder packages.
Follow the same principle for the rest of the packages:
openCOBOL requirements:
- Autoconf 2.59
- Automake 1.9.6 (included in the step before)
- Libtool 1.5.24 (included in the step before)
- Gettext 0.14.1
- m4 1.4.2
- Texinfo 4.6
- Bison 1.875
- Flex 2.5.4
Editor
(choose what you like)
- vim
Additional Libraries
- libgmp-devel – Development libraries for gmp
- libiconv – GNU character set conversion library and utilities
- ncurses – libraries for terminal handling (main package)
- ncurses-demo – Demonstration programs for ncurses
Utils
- Util-Linux – Random collection of Linux utilities
- curl
- wget (not included in cygwin baseline. Incredible!)
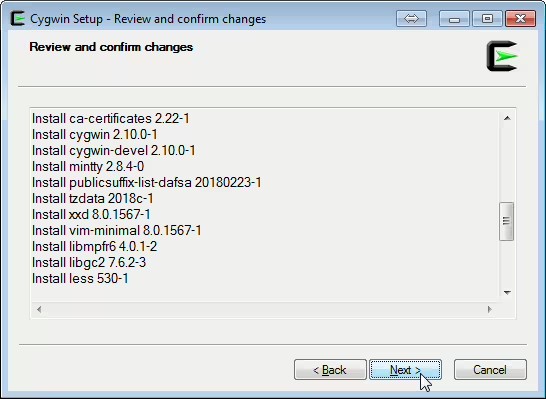
Proceed for the Actual Packages Installation
Done selecting? Click NEXT to install

Review and click NEXT:
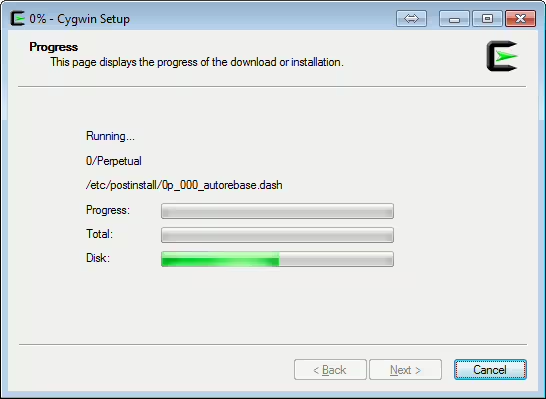
Let it run for 30mn-1h.
Final thoughts
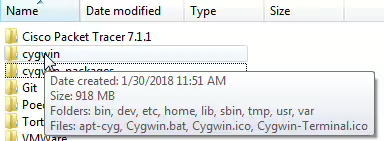
The whole cygwin installation baseline + packages + compiled gnuCOBOL will take around 1GB:
Compile gnuCOBOL 2.2
Download the Sources
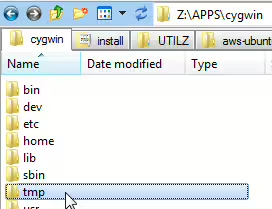
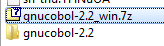
- download manually gnuCOBOL-2.2_win.7z and place it in your cygwin /tmp directory:
- Unzip it with 7zip:
Compile the Sources
Open a cygwin terminal and type these commands to compile and install gnuCOBOL:
For the Impatient
If you just want to do everything in one shot and come back after 30mn, you could type this single command:
cd /tmp/gnucobol-2.2 && ./configure && make && make check && make install
If not impatient, follow the step by step guide bellow:
Go to the COBOL source directory you just unzipped:
cd /tmp/gnucobol-2.2
Type this to configure the compiler:
./configure
Optional: You could change the command above to use colorgcc to get a nice colored output:
./configure | colorgcc
What ./configure Actually Does
This first step checks local requirements and gather libraries and header file paths in a file used by the compiler at the next step. If you missed some packages during the cygwin install, you will end up with an error message. If so, you will have to restart the cygwin installer and make sure every missing packages are checked and click install to amend your cygwin installation.
Then, compile the configuration:
make
Last but not least, check your compiled binaries:
make check
Info about make check:
This command will check the compiled COBOL binary against you system to validate that every aspects of the COBOL compiler will work as intended. It will take a while, like 10mn. You don’t need to let it run up to the end, just make sure that the first lines do not return lots of errors then hit Ctrl+C to cancel.
Example of correct output (first entries):
## ---------------------------------------- ##
## GnuCOBOL 2.2 test suite: GnuCOBOL Tests. ##
## ---------------------------------------- ##
General tests of used binaries
1: Compiler outputs (general) ok
2: Compiler outputs (assembler) ok
3: Source file not found ok
4: Compiler help and information ok
5: Using full path for cobc ok
6: C Compiler optimizations ok
7: Invalid cobc option ok
8: cobcrun validation ok
9: cobcrun -M DSO entry argument ok
10: cobcrun -M directory/ default ok
11: cobcrun -M directory/dso alternate ok
(...)
Finally, install it:
make install
Test your Install
Compilation and installation is done, now you can test your COBOL compiler.
Test cobc version:
cobc -v
cobc (GnuCOBOL) 2.2.0
Built Jan 30 2018 13:48:21 Packaged Sep 06 2017 18:48:43 UTC
C version "6.4.0"
loading standard configuration file 'default.conf'
cobc: error: no input files
Test cobc with one of your scripts:
cd ~ (or whatever directory you put your scripts in)
cobc -x yourscript.COB
No Output?
No output means all is good. In Linux/Unix, a command usually output something only when a problems arise.
Appendix About cygwin Installer
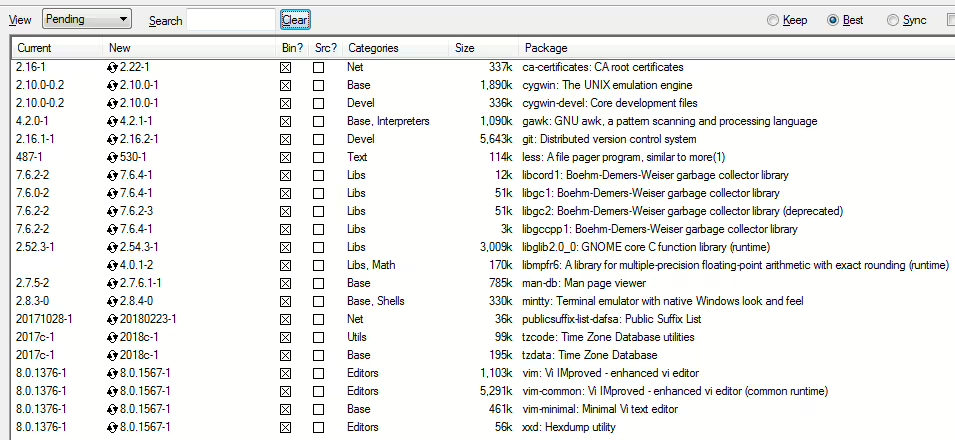
If you see pending packages when you restart the installer at a later time, that’s because new versions are available/updateable. Always click NEXT to install them before selecting any new ones.